Running a CS:GO Server on Steam with your Shell
Counter Strike: Global Offensive is one of the top first person shooters in the world. There's no doubt the userbase is there. For competetive gamers looking to do more and have more control, setting up a CS:GO server should be for you.
In this tutorial we will install CS:GO on your Shell™ - Modification to make it a Surf or Bunnyhop, or Custom Deathmatch will be up to you. And we'll help you set it up.
CS:GO was made free to play in December 2018. You are able to download and install this game and play it on Windows and Linux setups.
You may SSH in to your server by getting it's ip-address from your console.
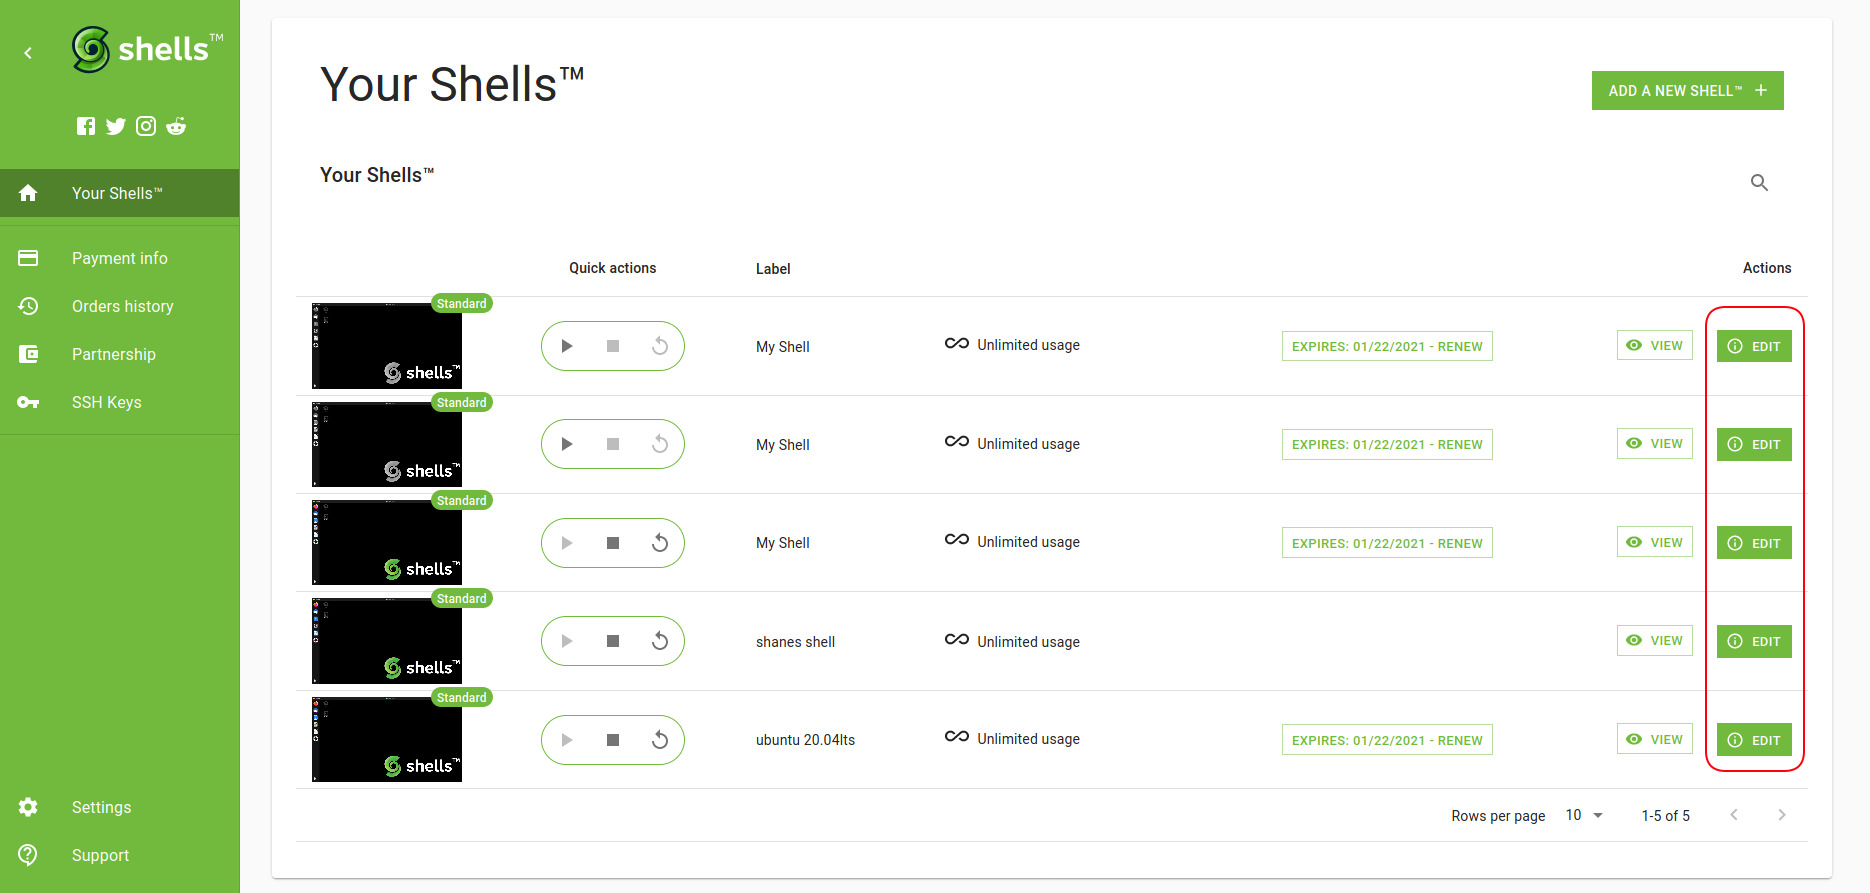
To get your Shell™'s IP Address, go to your console and Select Edit on your Shell™
And you can view your IP from the Edit screen:
If you wish to do this directly from your Shell™, open a terminal and follow this guide:
Before installing SteamCMD, We need to make sure that lib32gcc1 package is on the server.
Install the packages needed
$ sudo apt-get install lib32gcc1 -yDownloading and installing SteamCMD
Now everything is ready to install SteamCMD. For security reasons, let's make an account that does not have root access, or access to your files:
$ sudo useradd -m steamThen switch to the new user by typing:
$ su - steamCreate a new install directory:
$ mkdir ~ / Steam && cd ~ / SteamNow let's download the latest version of SteamCMD from the Valve server:
The file you have just downloaded is a package .tar that you will need to unpack before running.
To unzip the file write:
$ tar xf steamcmd_linux.tar.gzYou can now run SteamCMD by typing:
If everything was done correctly, you'll now be in Steam's prompt: Steam>
Downloading the server
Once entered the Steam prompt, login.
The user ID and password required here are the same as your Steam Account. Be sure to never give this information to anybody, to keep your account safe
To do so, write:
where you are required to replace the UserID and password with those of your steam account.
To dedicate a folder for the installation of the CS: GO server, write:
After doing so, you can finally download and install the CS: GO server by writing:
This command contains the number 740, an appID for the dedicated Counter-Strike server: Global Offensive. To see a list of all Steam App IDs, check out SteamDB's appid list!
The process may take a few minutes, depending on your Server's configuration. We suggest using 4 cores to get the best results out of your game server.
Once the process is completed, create a game server account. You'll need this as you're now be a server adminstrator and listed in Steam's master server list.
To do so, enter the following address: https://steamcommunity.com/dev/managegameservers
Two fields are present below:
Enter the appID, which in this case is 730.
The second field is for inserting a note that is only visible to you.
Click Create to generate a key for starting the server.
Once all the steps are done, it’s time to start the dedicated Server.
Starting the server
To start up the server there is a specific command for each desired game mode.
First, l enter in the directory cs_go, then type the command corresponding to the mode chosen.
Remember to add the key you received from the Steam game server management after + sv_setsteamaccount.
Classic Casual
Classic Competitive
Deathmatch
To customize your gaming experience, refer to the official Valve Wiki on CS: GO
This will give you the knowledge needed to customize and have fun with your official CS:GO Server!


