Turn your Shell into a File Server using Samba, OpenVPN, and Ubuntu
Overview
Samba file server allows computers to share files over a private network using almost any operating system. It will allow you to share files between your laptop, desktop, virtual, or cloud computers no matter macOS or Windows.
You can install a Samba server on any operating system, but for the purposes of this tutorial we will be using Ubuntu Desktop 10.20.
Since the Samba file server is designed to run on a private network, we will also need to setup a Virtual Private Network for our server so that our endpoint devices are on the same private network.
For the purpose of keeping everything organized, it is advised that all VPN usernames and Samba usernames be identical to prevent any confusion.
Prerequisites
- A dedicated IP address for your Shell™.
- A functional Shell™ with VPN access.
Purchasing a Public IP
Click the link below, and follow the directions to purchase a dedicated IP address for your Shell™.
How to order a dedicated IP address for your Shell™
Setup VPN access to Your Shell™
Click the link below, and follow the directions to setup a VPN connection to your Shell™.
Turn your Shell™ into a VPN Server
Install Samba
Now, to update and install Samba.
sudo apt update && sudo apt install sambaTo check that the installation is complete, enter the command whereis samba. The output should look as follows:
samba: /usr/sbin/samba /usr/lib/samba /etc/samba /usr/share/samba /usr/share/man/man7/samba.7.gz /usr/share/man/man8/samba.8.gzConfigure Samba
Create a directory for Samba to share, enter the following and replace systemuser with the username to your home directory:
mkdir /home/systemuser/sambashare/Now to edit Samba's configuration file /etc/samba/smb.conf
sudo nano /etc/samba/smb.confNext, we need to add a description of the share, specify the path to our share, set permissions, and use options.
Add the following lines at the end of the configuration file while replacing systemuser with the directory your sambashare is in:
comment = Samba on Ubuntu
path = /home/username/sambashare
read only = no
browsable = yes
ours looks like this:

Include VPN traffic
Also, we must edit the interface directive in the Networking section so that the smb.conf file listens on the VPN's subnet of 10.8.0.0/24. Enter the following:
interfaces = 10.8.0.0/24
and allow users from the VPN network to access the Samba server:
hosts allow = 10.8.0.0/24
The entry should look like this:

Save and exit the nano editor.
For our changes to take effect we must restart the Samba service:
sudo service smbd restartTo check the status of our Samba service, enter:
sudo service smbd statusAllow Samba traffic through your firewall:
sudo ufw allow sambaAdding users to Samba
Samba does not use the system account password, so we need to create one. You must use a username identical to a system account, or else the Samba account will not save. Enter the command below:
sudo smbpasswd -a usernameFor additional configuration options, read the Samba Server Guide.
Connect to Share
To connect to your Samba file server, your client must be connected to your Shell™ via VPN as shown at the end of our VPN tutorial.
If you followed our VPN tutorial, the ip address of your Samba share is the same as your VPN interface:
10.8.0.1
Ubuntu
Open the default file manager then click Connect to Server.
In the Server Address field, enter:
smb://vpn-ip-address/sambashare
Click 'Connect' or press 'Enter'
MacOS
Open the Finder, click Go > Connect to Server and enter:
smb://vpn-ip-address/sambashare
Windows
In the file manager, enter:
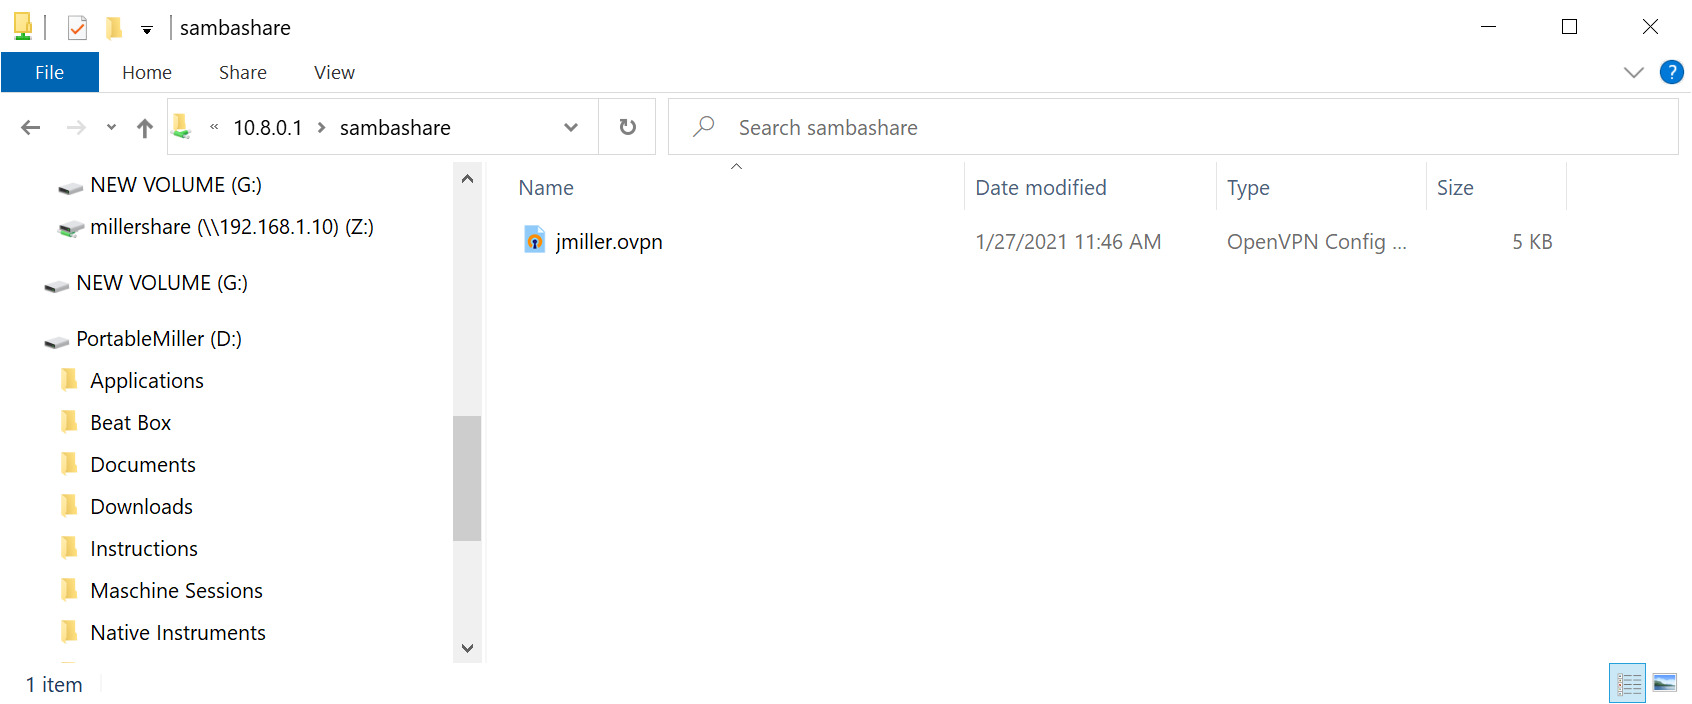
\\vpn-ip-address\sambashare
Enter your Samba credentials at the prompt and you are connected!
